In this tutorial, you’ll learn how to schedule spaces for meetings.
⚠️ ⚠️ WARNING ⚠️ ⚠️ Students are not able to request space in the scheduling system per SPO policy. If students need PSOM space, they will need to go through a full time faculty/staff member (PSOM or HUP) within their department to request space via the EMS site (as below).
Step 1: Login to Scheduling & Event Services
Log in using your PennKey and click on CREATE A RESERVATION

Step 2: Request a room

Click on book now next to Request a Room.

Set the Date, Start Time, End Time to the desired value in the Date & Time tab. In this example, we are booking a room on Monday, Dec 6 2021.
After setting the date and time, click on Search.
All the rooms that you can request would show up in the search with schedules shown in the bar chart. The dark-blue shaded slots indicate that the corresponding time periods have been booked and thus are not available.
Note that the extended whiskers on both sides of a time block represent the overhead setup/preparation time that is alloted for a scheduled meeting. Therefore, time periods covered by the whiskers are also not available.
Step 3: Decide on a room
 Find a room that fit your scheduling needs. In our case we find an availability at RCH C309 Conference Room from 2pm to 3pm. Then click on the green plus sign next to the room that you want.
 You will be prompted to provide the number of attendees and the setup type you would like. The boardroom style would be ideal if you have a relatively small group and expect lots of discussions to happen.
  After you’ve filled out the number of attendees and the setup type, you will notice that the green plus sign next to your desired room disappears.
Now scroll all the way to the top and click on Next Step. 
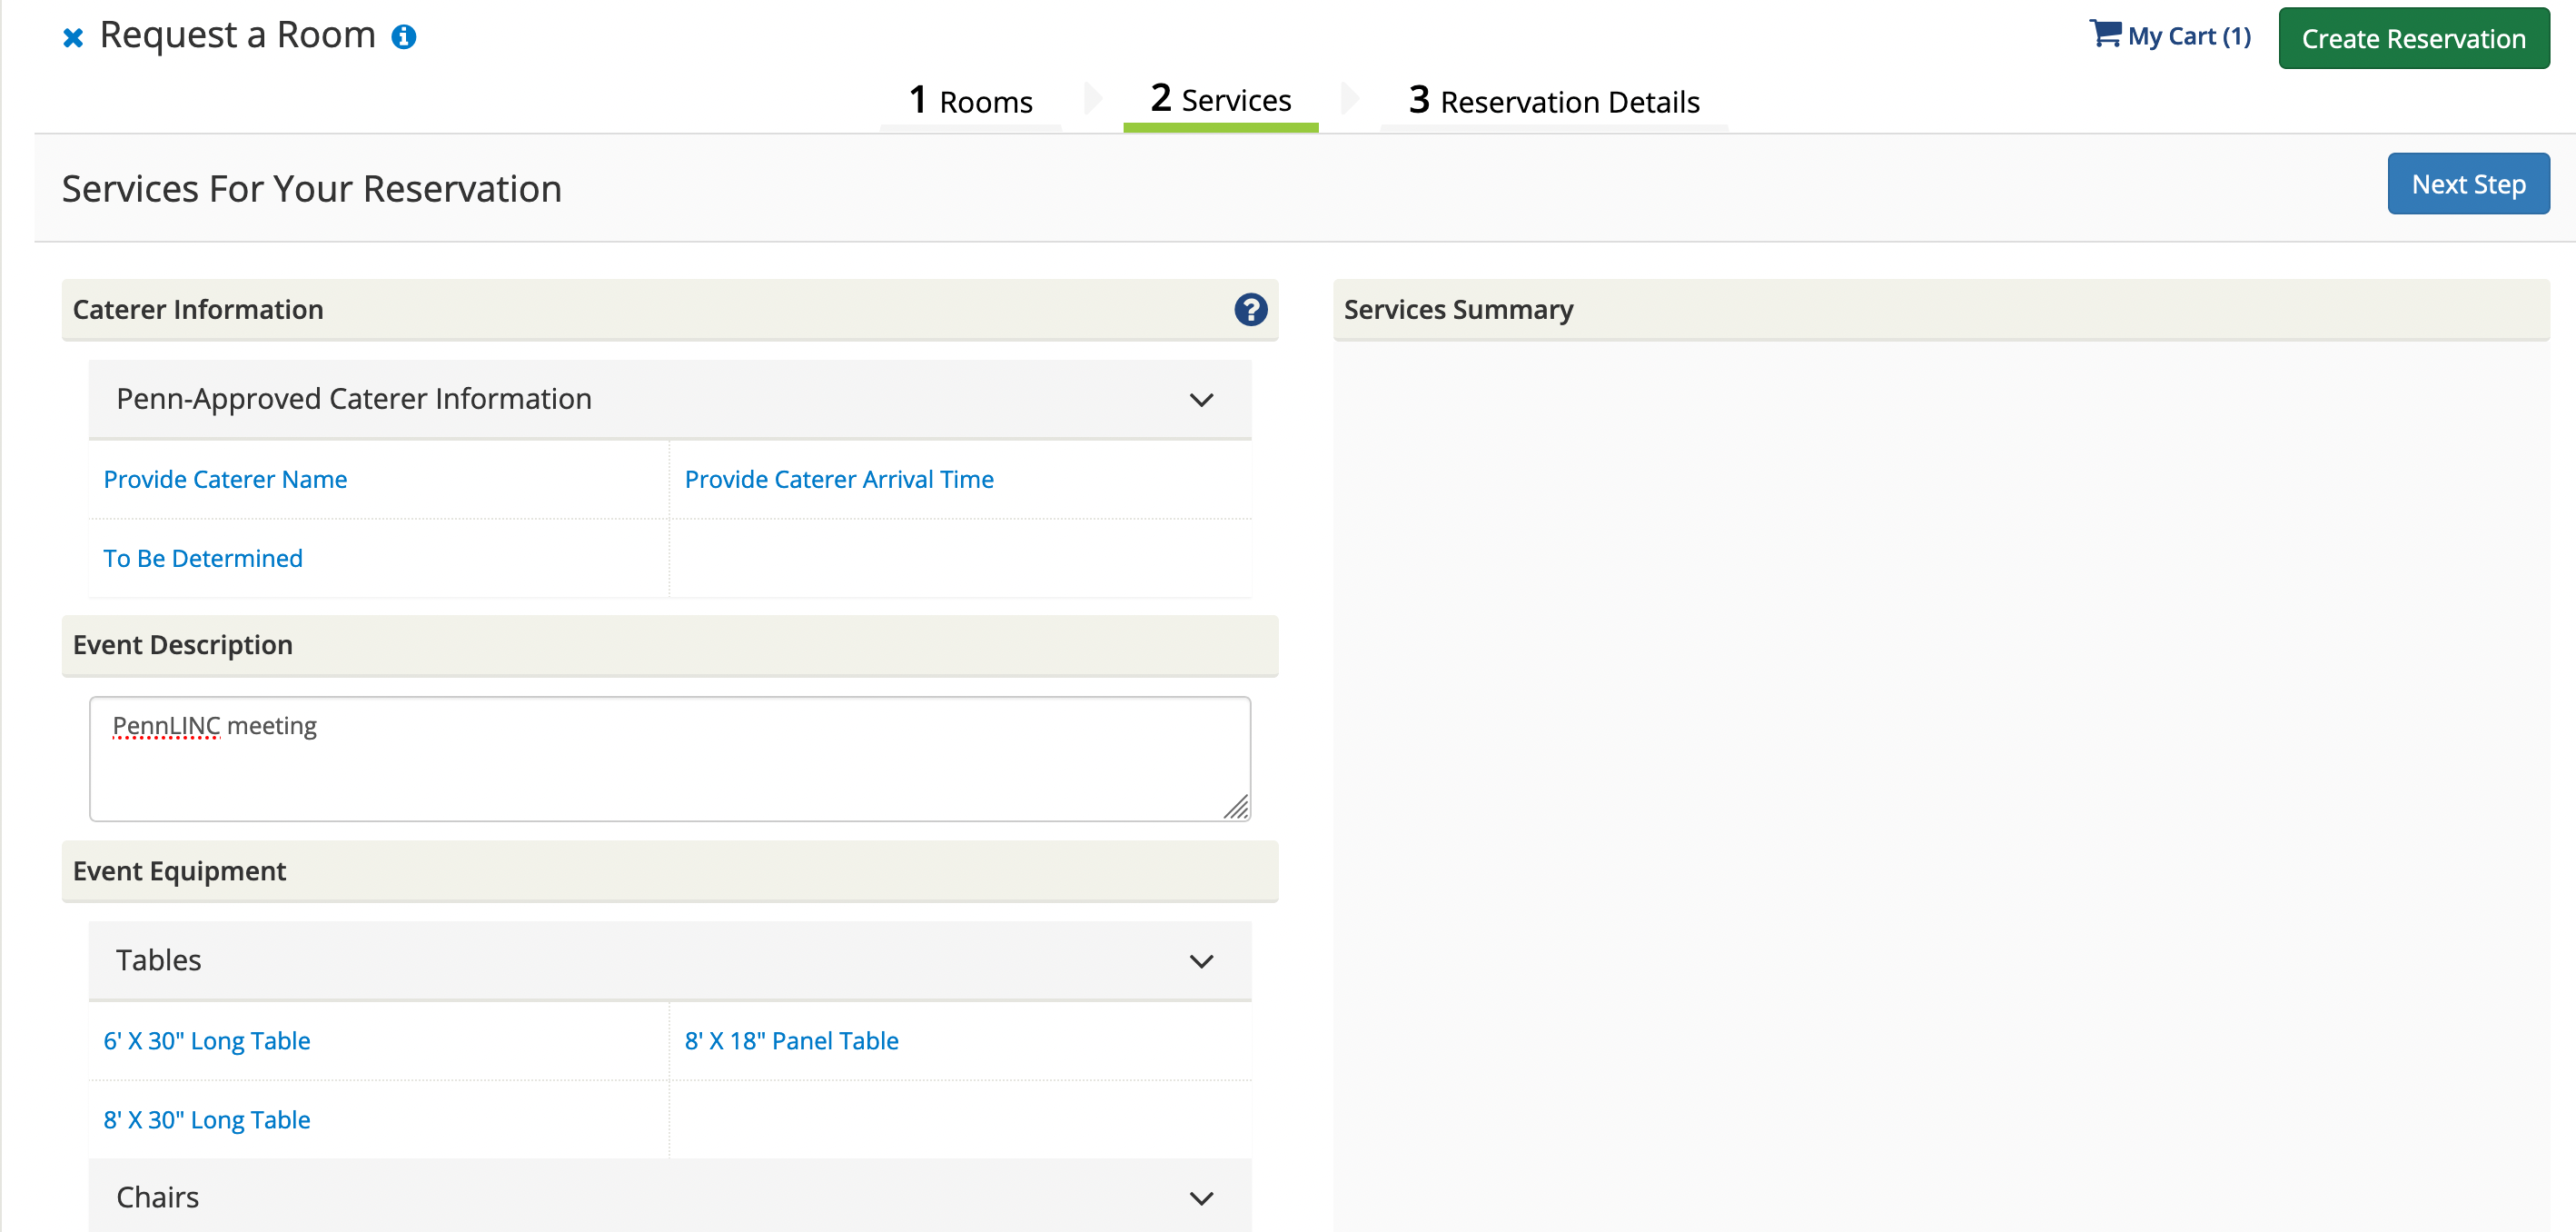
Step 4: Go through the reservation services

Unless directly requested, you wouldn’t need any caterer. So skip Penn-Approved Caterer Information and fill out Event Description with whatever is appropriate.
You can also ignore Event Equipment section, which describes the available equipments in the room that you’ve selected. 
Unless absolutely necessary, please do not select anything under MTP Equipment section, as extra items or services might incur charges. 
Same goes for AV Rental Services
 For the billing information, you should already have the 26-digit Budget Code that you can directly paste into the blank field.
After you’re done pasting the budget code, click on Next Step.
Step 5: Fill out the reservation details
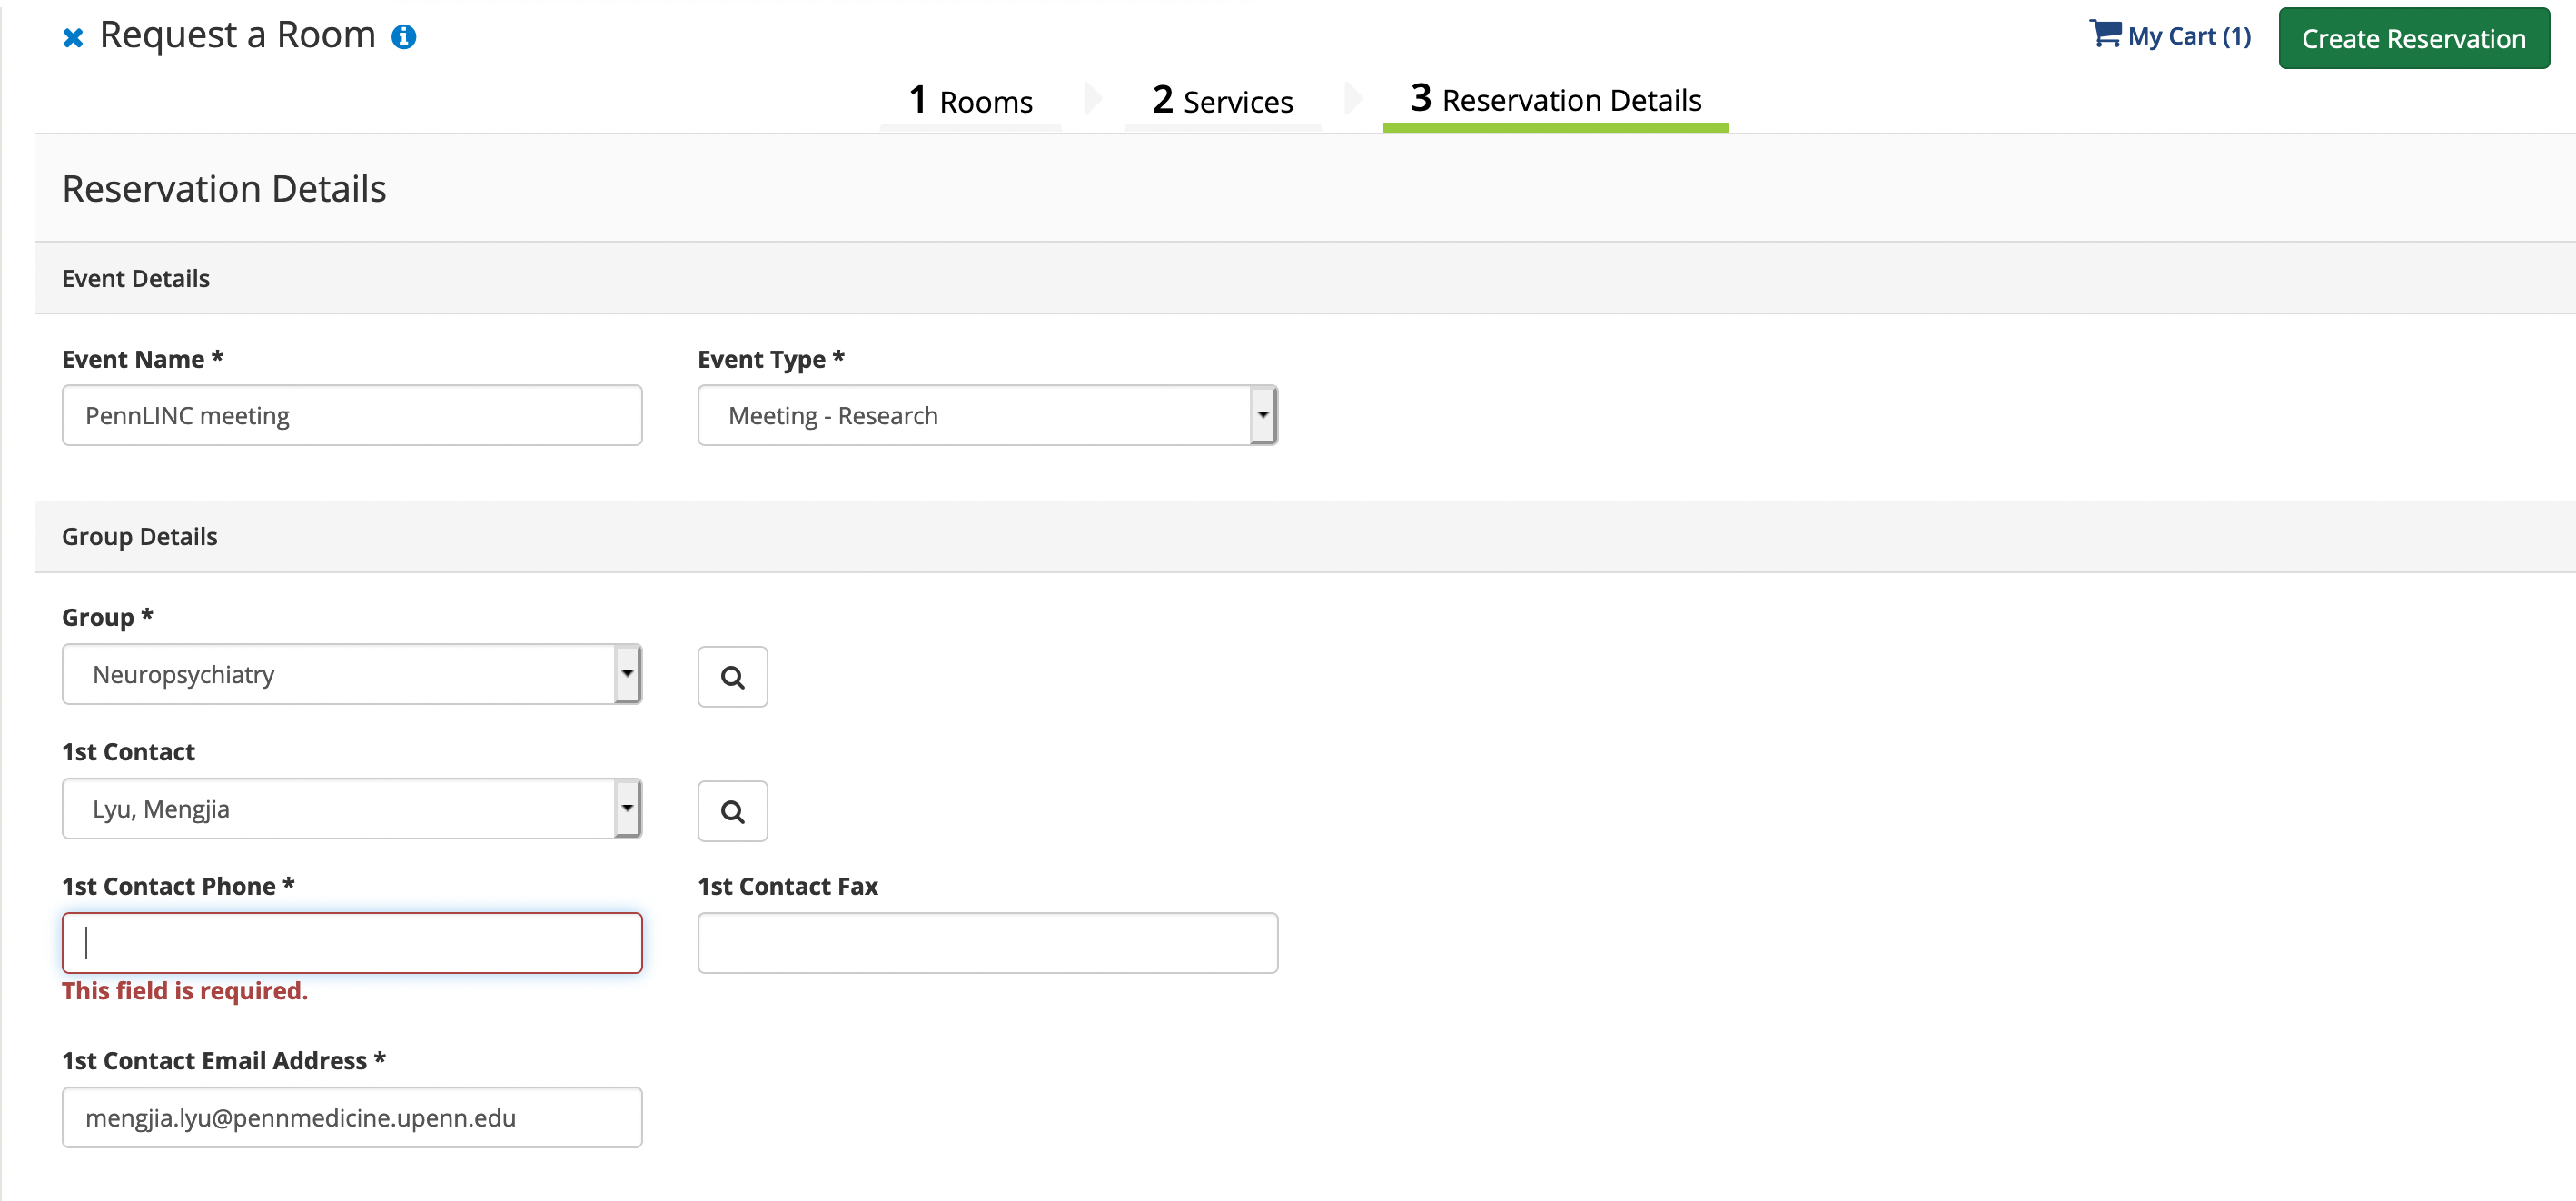
Fill out the required contact information fields and for additional information refer to the screen grab below.

Step 6: Create the Reservation

Check the box next to I have read and agree to the terms and conditions and click on the green button on the bottom right Create Reservation.
You will soon receive a confirmation email that looks like below. Congratulations on successfully booking a room for your meeting! 